ONE
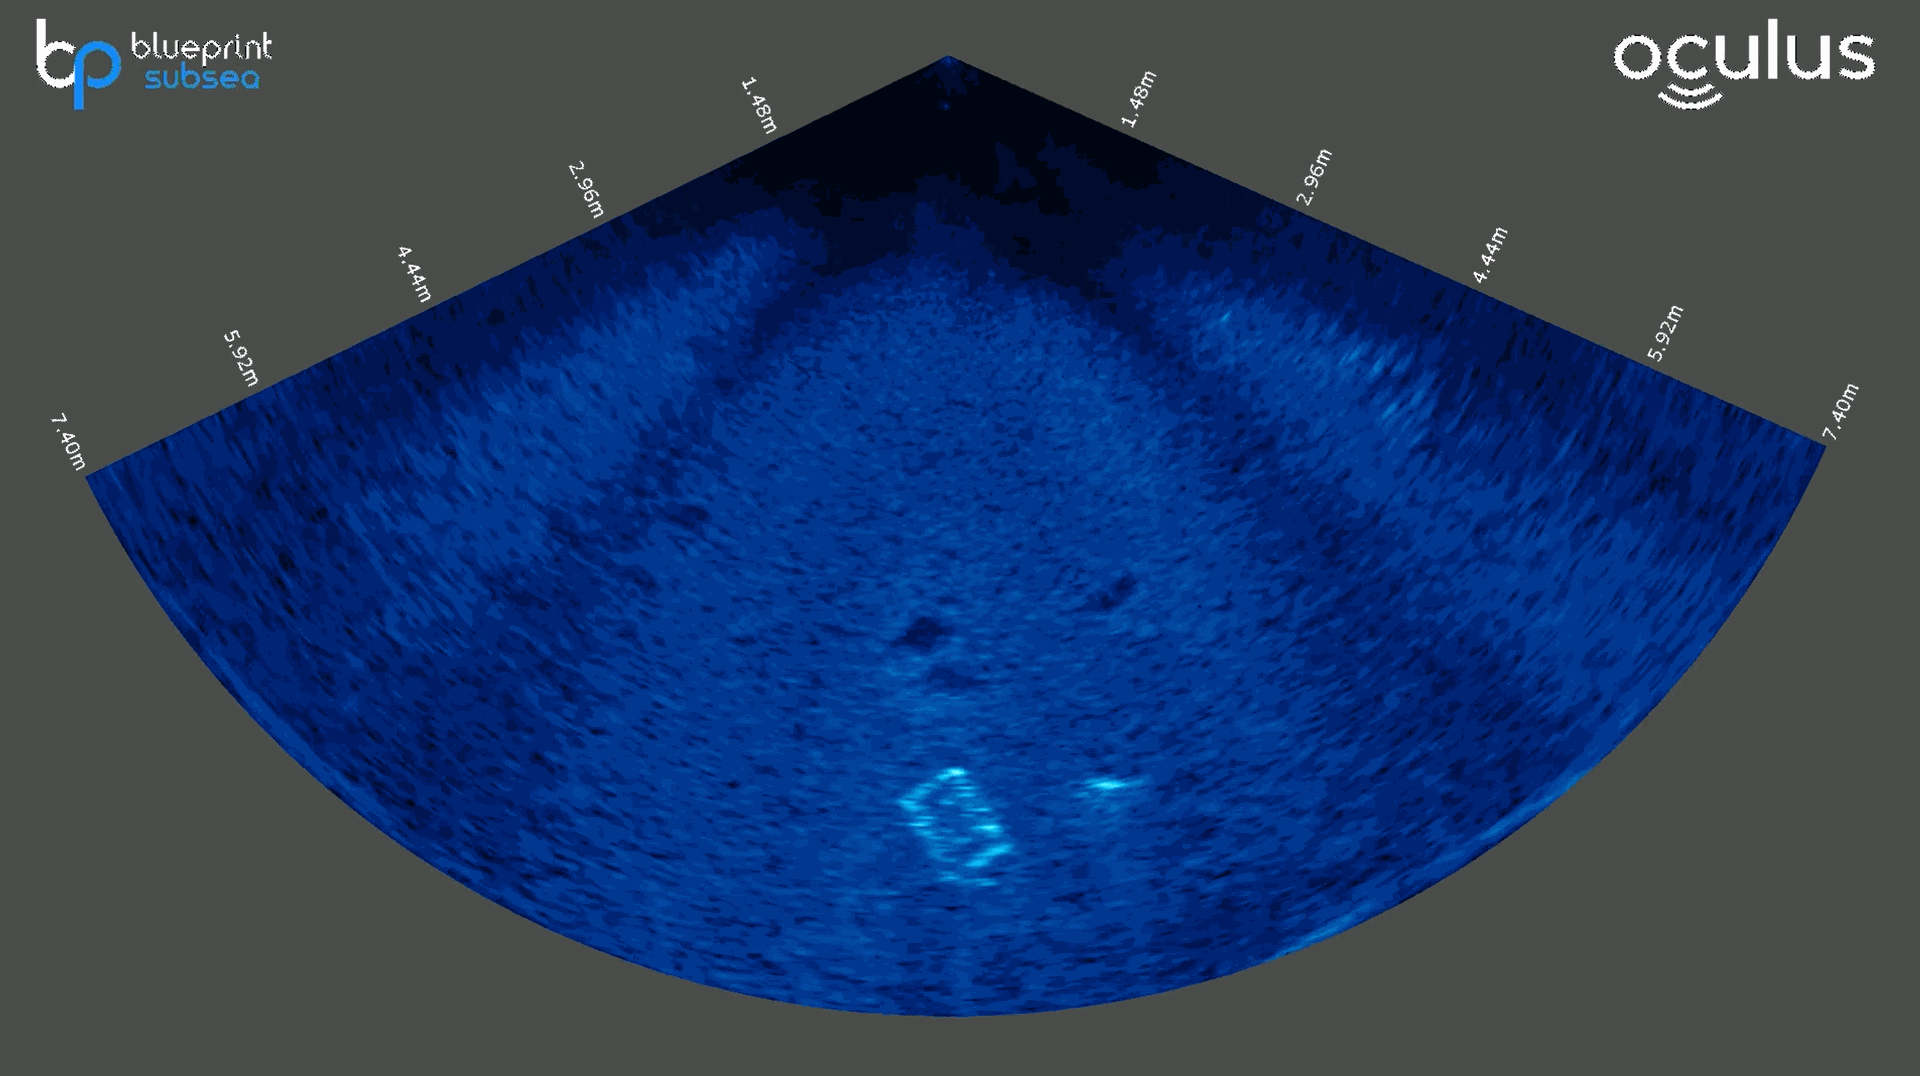
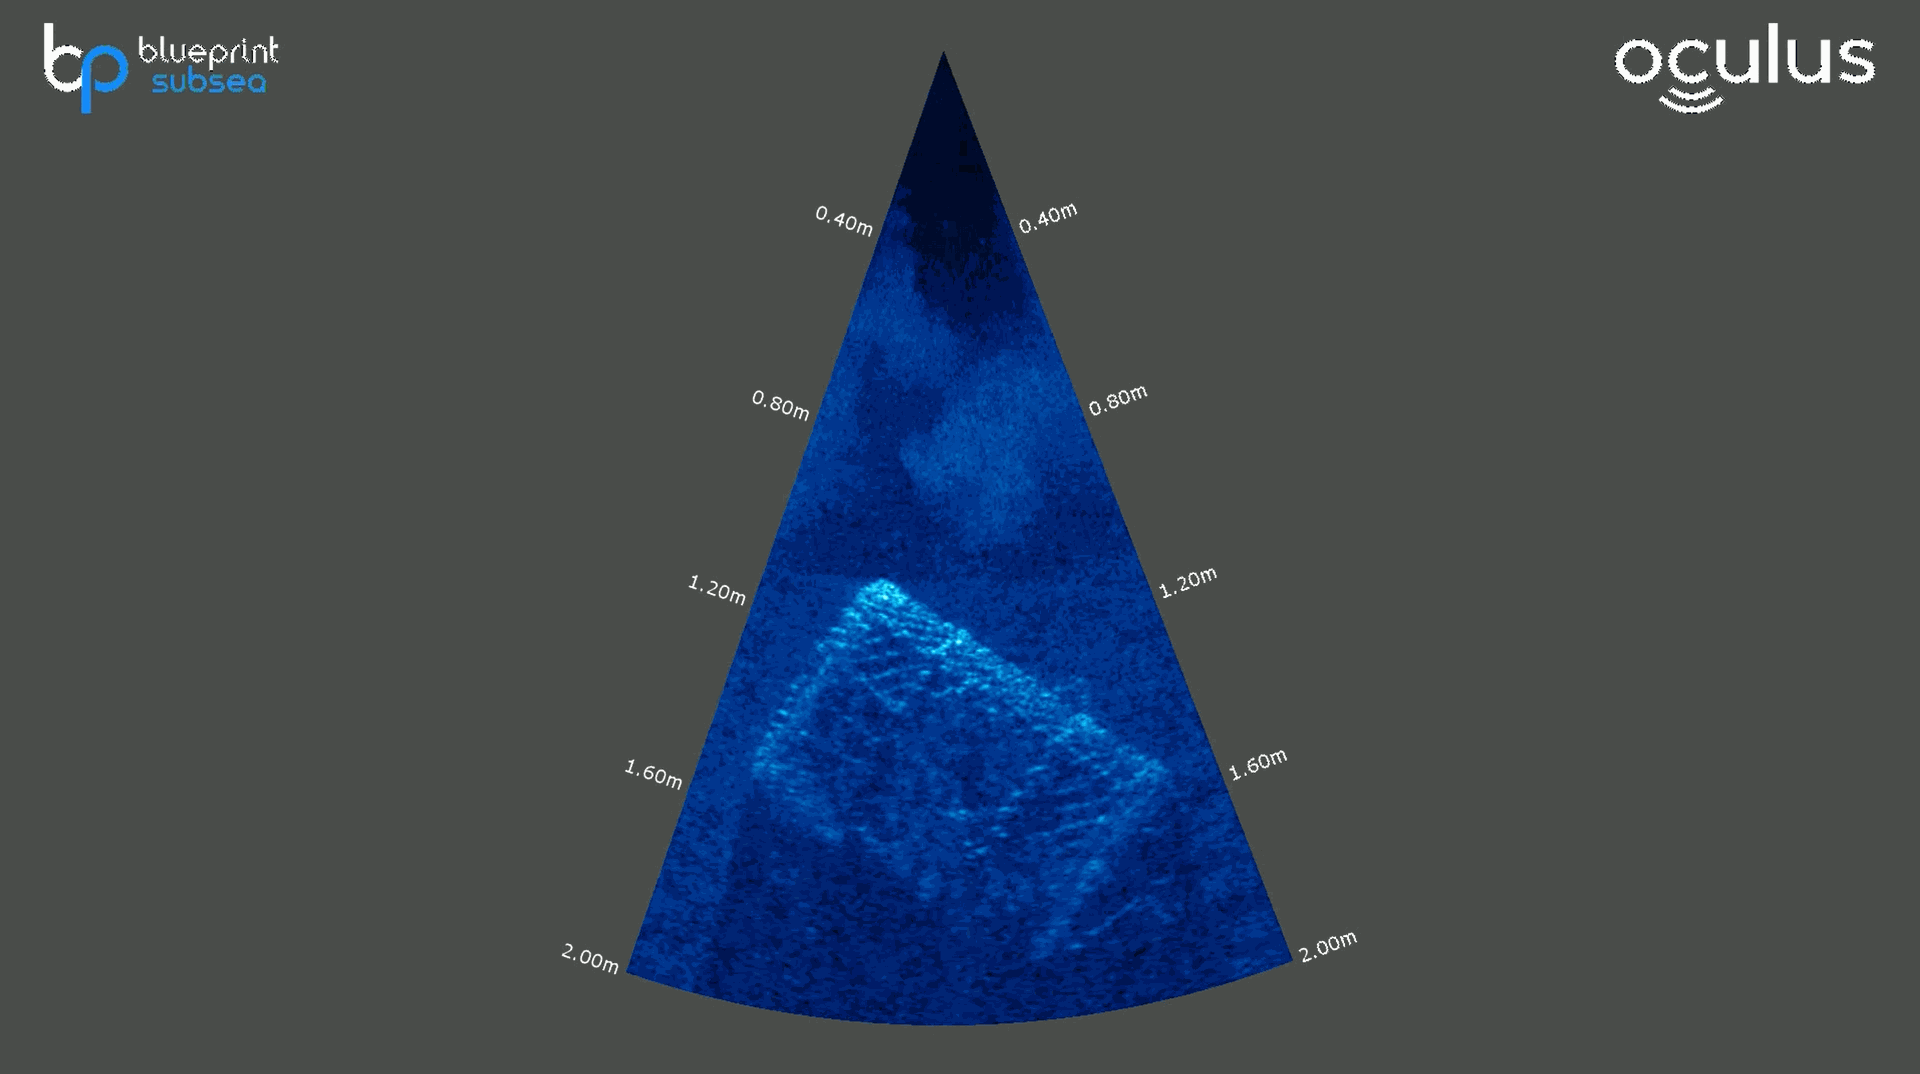
Choose the Shortest Practical Range
Operating at a shorter range increases the amount of detail
visible. A common mistake is setting the range to show a much
larger area than necessary, causing targets to appear smaller and more difficult to
interpret. Whenever possible, operate at close range and reduce the range setting so your target appears comfortably in the sonar display.
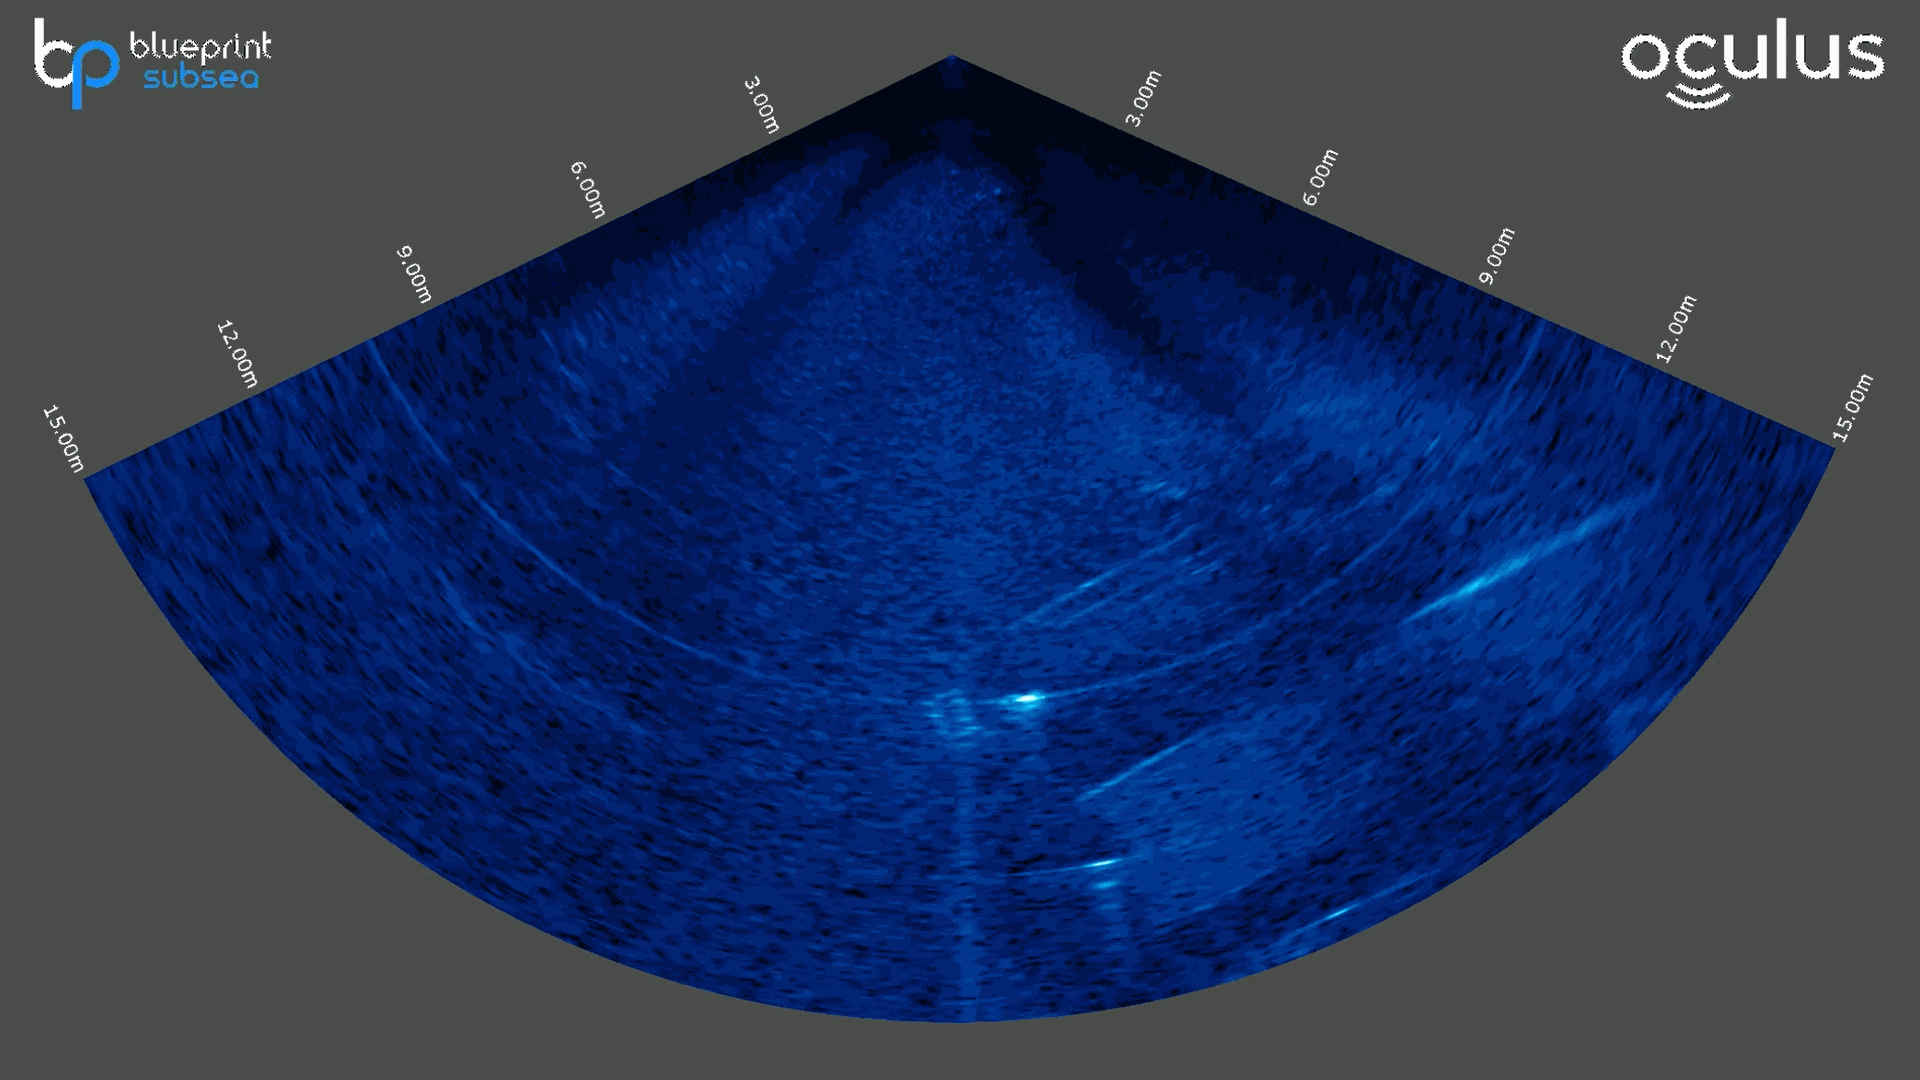
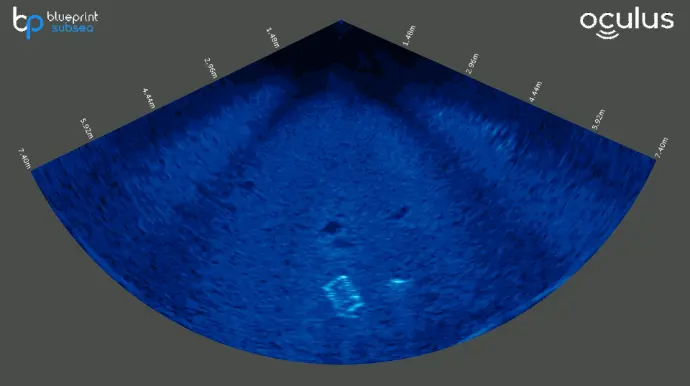
Excessive range makes target appear smaller
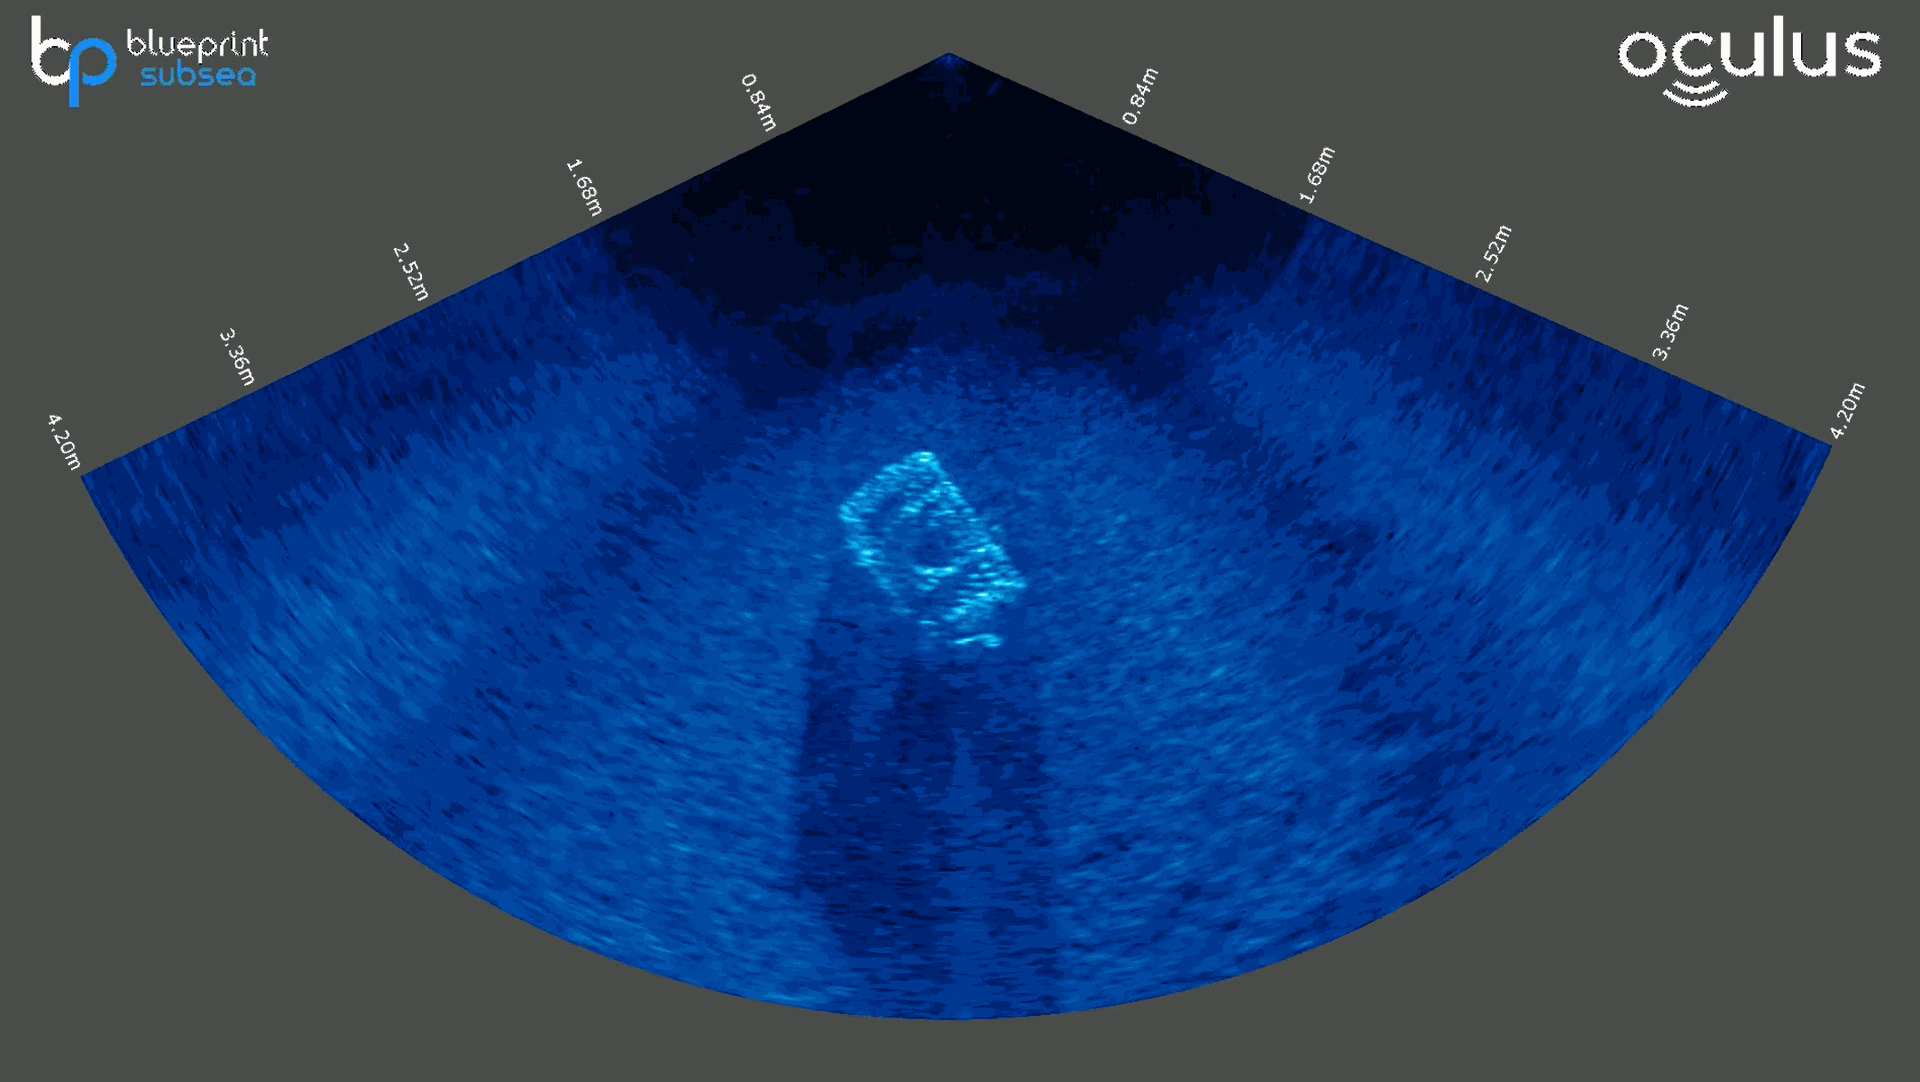
Reduced range brings reveals more detail
TWO
Maintain a Consistent Altitude
A stable altitude helps produce consistent, repeatable sonar imagery. Significant changes in height can affect target visibility, shadow length and overall image quality. Maintaining a steady altitude is particularly important when conducting surveys or comparing data between passes.
THREE
Match Frequency to Task
Different sonar frequencies offer different advantages. A lower
frequency provides a larger range and better overall situational
awareness, while higher frequencies show finer detail for close-range
inspection work. Choose the frequency best suited to your task rather
than relying on a single setting for every operation.
Low frequency mode for navigation and target detection
High frequency mode for close range inspection
FOUR
Position Sonar for Best View
To capture the clearest image of a target, try adjusting your
viewing angle before changing your sonar's settings. This allows the acoustic pulse to hit different surfaces, helping to build a more complete picture. A small repositioning can reveal
features and acoustic shadows that may not be visible from a
single angle.
FIVE
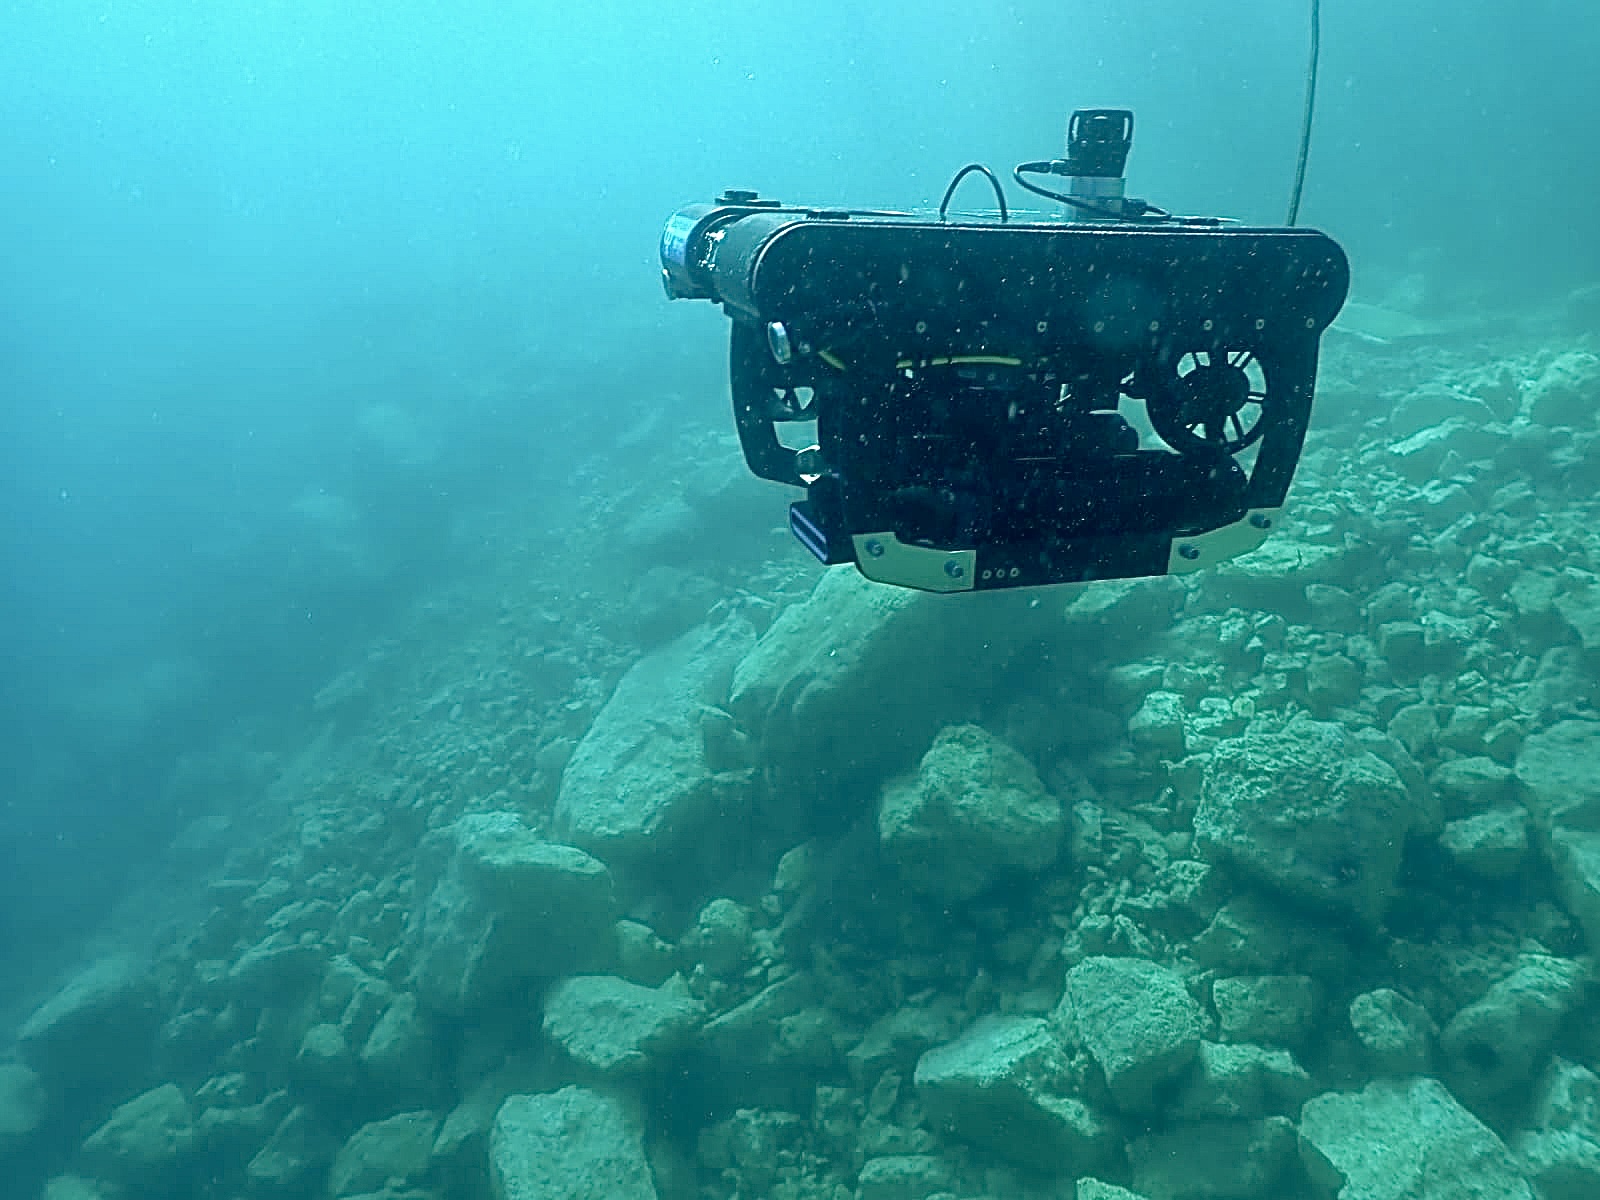
Maintain a Clear Line of Sight
Think of your sonar like a torch: it can only show you what its acoustic 'beam' can reach. If rocks, structures or seabed features block the path to your target, anything behind them will be hidden from view. Maintaining a clear line of sight helps ensure important details aren't obscured and gives you the best possible image of your target.
Learn more about your Oculus multibeam imaging sonar.
ONE
Choose the Shortest Practical Range
Operating at a shorter range increases the amount of detail visible. A common mistake is setting the range to show a much larger area than necessary, causing targets to appear smaller and more difficult to interpret. Whenever possible, operate at close range and reduce the range setting so your target appears comfortably in the sonar display.
Excessive range makes target appear smaller
Reduced range reveals more detail
TWO
Maintain a Consistent Altitude
A stable altitude helps produce consistent, repeatable sonar
imagery. Significant changes in height can affect target
visibility, shadow length and overall image quality. Maintaining a steady
altitude is particularly important when conducting surveys or comparing data
between passes.
THREE
Match Frequency to Task
Different sonar frequencies offer different advantages. A lower frequency provides a larger range and better overall situational awareness, while higher frequencies show finer detail for close-range inspection work. Choose the frequency best suited to your task rather than relying on a single setting for every operation.
High frequency mode for close range inspection
Low frequency mode for navigation and target detection
FOUR
Position Sonar for Best View
If you're finding it difficult to capture a clear image of a target, try adjusting your viewing angle before changing your sonar's settings. This allows the acoustic pulse to reflect off different surfaces, helping to build a more complete picture. A small repositioning can reveal features and acoustic shadows that may not be visible from a single angle.
FIVE
Maintain a Clear Line of Sight
Think of your sonar like a torch: it can only show you what its acoustic 'beam' can reach. If rocks, structures or seabed features block the path to your target, anything behind them will be hidden from view. Maintaining a clear line of sight helps ensure important details aren't obscured and gives you the best possible image of your target.